
Until now it was placed directly in the scene for confirmation, but in actual games it is almost always to appear from the middle.
Finally, I will incorporate it into Wave and let Enemy 3 appear.
Contents
Previous tutorial
- 1. Preparation of tutorial project
- 2. Create Enemy
- 3. About enemy bullet shooting
- 4. Create Weapon
- 5. Adding a behaviour pattern
Apply Enemy3 to Prefab
We will apply the edits so far to prefab.
- Select “Enemy3” from the Hierarchy window.
- Click on the Overrides dropdown in the Inspector window.
- Click the “Apply All” button in the drop-down menu.
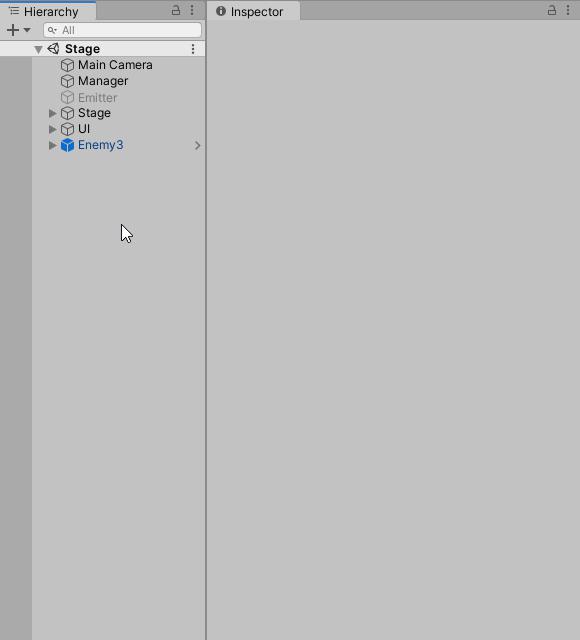
Delete Enemy3 from the scene
Delete the Enemy3 object from the scene because you no longer need to edit it.
- Select “Enemy3” from the Hierarchy window.
- Press the Delete key to delete.
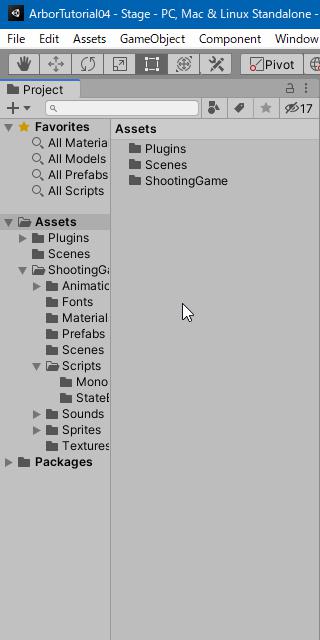
Duplicate Wave Prefab
Duplicate the Wave prefab.
- Select “Assets/Shooting/Prefabs/Wave” from the Project window.
- Select “Edit > Duplicate” from the top menu.
- Renamed the object name to “Wave2”.
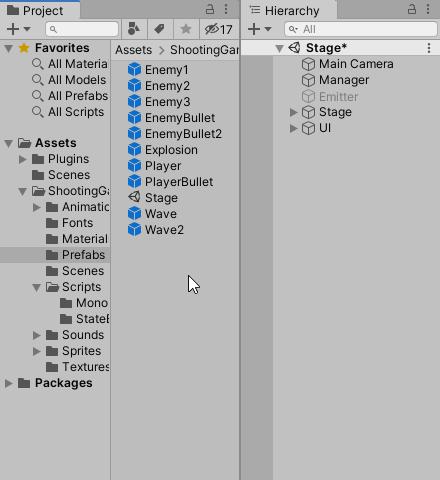
Place Wave2 in the scene
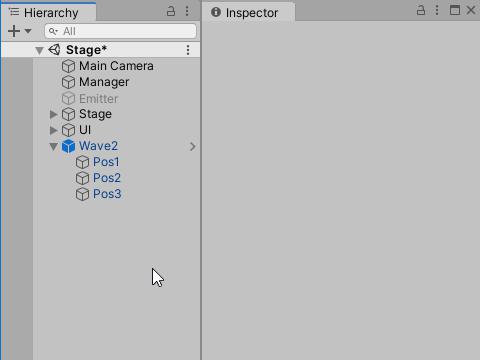
Place a Wave2 prefab in the scene for editing.
- Drag “Assets/Shooting/Prefabs/Wave2” from the Project window.
- Drop into the Hierarchy window.
Instantiation of Enemy3
Change it to instantiate Enemy3 from Wave2.
Please open ArborFSM of Wave2 in Arbor Editor.
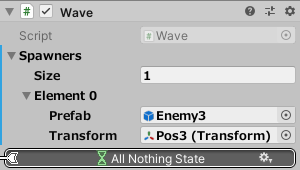
- Wave component in Wave2 is changed as follows.
| Spawners / Size | 1 |
| Spawners / Element 0 / Prefab | Assets/Shooting/Prefabs/Enemy3 prefab |
| Spawners / Element 0 / Transform | Wave2/Pos3 object (In the center this object) |
Apply Wave2 to Prefab
- Select “Wave2” from the Hierarchy window.
- Click on the Overrides dropdown in the Inspector window.
- Click the “Apply All” button in the drop-down menu.
Delete Wave2 from the scene
Delete the Wave2 object from the scene because you no longer need to edit it.
- Select “Wave2” from the Hierarchy window.
- Press the Delete key to delete.
Wave 2 starts after Wave 1 ends
Add Wave2 to Emitter.
First, open Emitter’s ArborFSM in the Arbor Editor window.
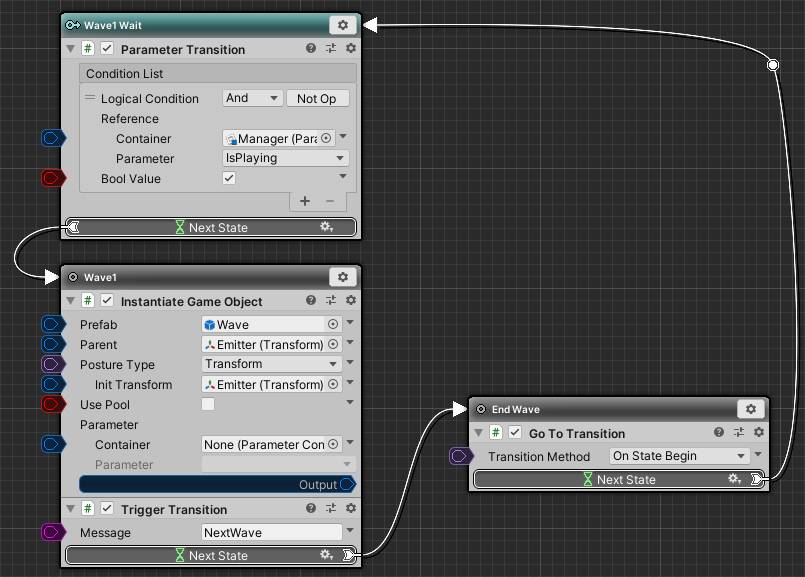
Duplicate the Wave1 state and rename it Wave2.
- Click the Wave1 state setting icon.
- Select “Copy” from the menu.
- Right-click on the graph below the Wave1 state.
- Select “Paste” from the menu.
- Renamed the state name to “Wave2”.
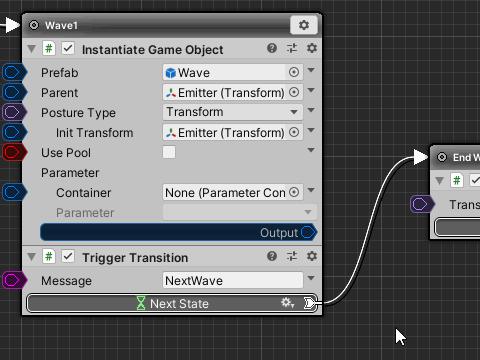
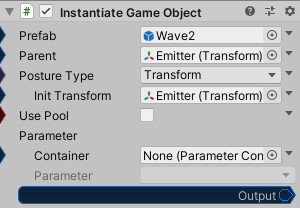
- Change the InstantiateGameObject of Wave2 as follows.
| Prefab | Assets/Shooting/Prefabs/Wave2 prefab |
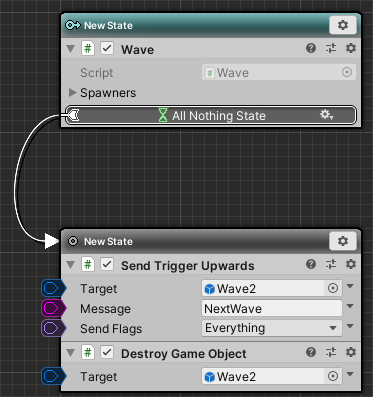
Connect to transition from Wave1 state to Wave2 state.
- Connect “Next State” of TriggerTransition of Wave1 state to Wave2 state.
This Wave was able to add.
Play Check
Finally press “![]() play button” to check the operation.
play button” to check the operation.
When Wave1 ends, you can see that the created Wave2 starts.
Next Step
That’s it! “Let’s make an enemy of 2DSTG” is complete.
“Let’s make an enemy of 2DSTG” complete tweets
The next tutorial is “How to make an automatic door with FSM“.
I will explain how to build an automatic door by linking a simple sensor and state machine.