
Create Enemy3 based on already created Enemy1.
Previous tutorial
Preparation of Enemy3
Duplicate Enemy1 Prefab
- Select “Assets/ShootingGame/Prefabs/Enemy1” in the Project window.
- Select “Edit > Duplicate” from the top menu.
* If you duplicate it will automatically be named Enemy3, but if it is not, please leave it to Enemy3.
Place Enemy3 in the scene
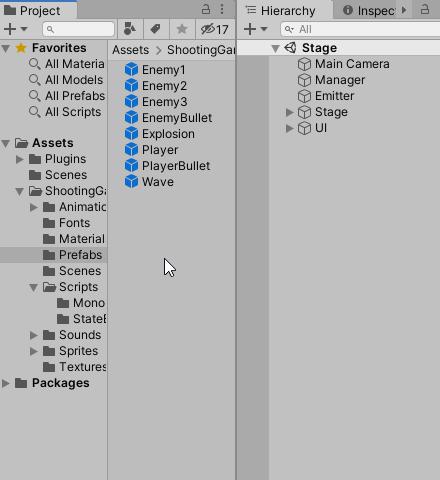
To make it easier to work, place Enemy3 Prefab in the scene.
- Drag and drop “Assets/Shooting Game/Prefabs/Enemy3” from the Project window to the Hierarchy window.
Change Transform
In order to distinguish it from other enemies, increase the scale.
- Change the Transform of Enemy3 as follows.
| Scale | 2, 2, 1 |
![]()
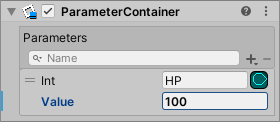
Chenge HP
Next, HP is also set to 100, making it hard to destroy.
- Change the ParameterContainer of Enemy3 as follows.
| HP | 100 |
The basic setting is completed so far.
Change the behavior of Enemy3
I will change Enemy3 to move and stop after 2 seconds.
Open in Arbor Editor
Of the two ArborFSMs added to Enemy3, open the first ArborFSM (Name is EnemyFSM) in the Arbor Editor window.
- Click the “Open Editor” button of the first ArborFSM (Name is EnemyFSM).
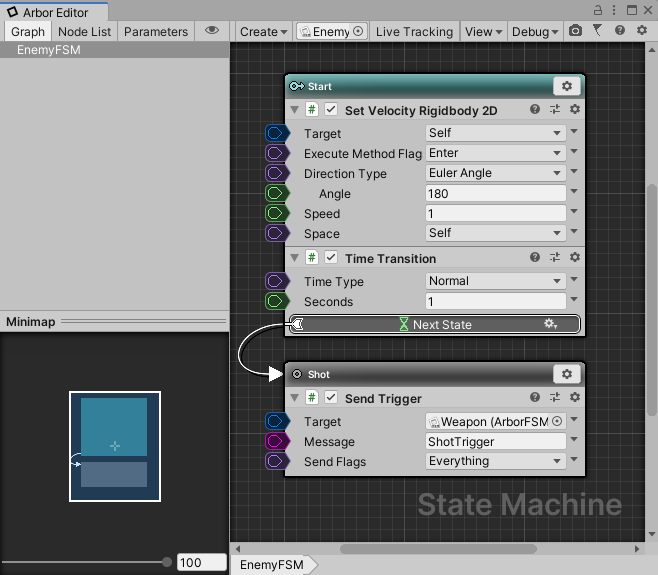
Explanation of the Start state
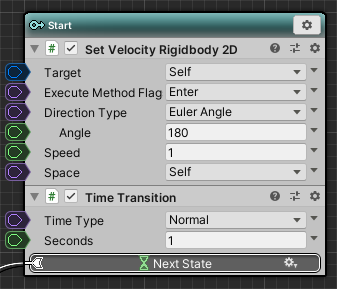
In the Start state, SetVelocityRigidbody2D changes the velocity of Rigidbody2D of Enemy3 itself.
See “SetVelocityRigidbody2D” for more information.
Also, we are making a transition with TimeTransition in order to start a shot after 1 second.
Change TimeTransition
Here, change to stop moving after 2 seconds.
- Time Transition of Start state is changed as follows.
| Seconds | 2 |
![]()
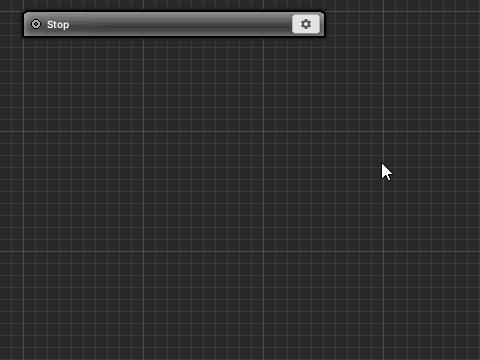
Create Stop State
Please create state with the name “Stop”.
- Right-click on the empty area of the graph.
- Select “Create State” from the menu.
- Confirm by changing the state name to “Stop”.
Add SetVelocityRigidbody2D
As with Start, use SetVelocityRigidbody2D to stop the movement by setting the velocity to 0.
- Click the Stop state setting icon.
- Select “Add Behaviour” from the menu.
- Select “Physics2D > SetVelocityRigidbody2D” from the behavior selection window.
It is set to stop by default, so you do not need to change anything in particular.
Add GoToTransition
Since we want to start a shot after stopping, we will add GoToTransition and make it transition.
- Click the Stop state setting icon.
- Select “Add Behaviour” from the menu.
- Select “Transition > GoToTransition” from the behavior selection window.
Relink the transition
Since the setting of each state has been completed, we will reset the transition.
- Connect from the Time state Transition to the Stop state in the Start state
- Connect from GoToTransition in the Stop state to the Shot state
- Relocate the nodes along the flow
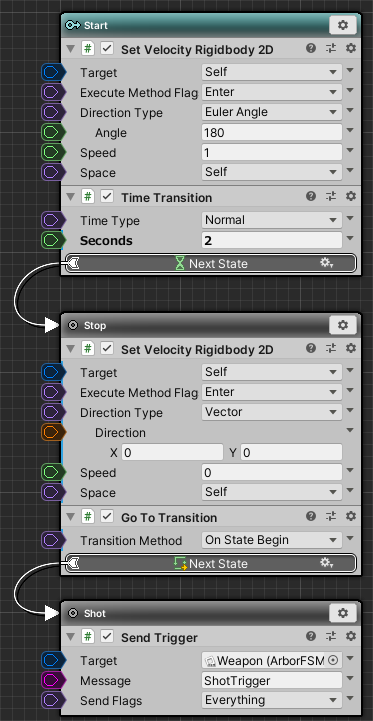
It should be OK if it looks like this.
Play Check
Let’s check the operation by pressing “![]() play button”.
play button”.
After Enemy 3 moves from the top for 2 seconds, it stops and you can see how it fires enemy bullets.