
This time, we will create a simple mechanism that switches ON/OFF at 1 second intervals while learning the basics of state machines.
Contents
What is State Machine
A state machine is a graph that consists of states of behavior to be executed and transition conditions between states.
It is executed from the start state, and transitions to other states depending on the result of the condition judgment performed in each state.
Let’s practice how to build a state machine in this tutorial.
Preparing the tutorial project
Let’s prepare a project to practice this tutorial.
Operating environment
This tutorial is created in the following environment.
| Unity | 2019.4.39f1 |
| Arbor | 3.9.0 |
Preparing the Arbor3
If you haven’t already, you’ll need to purchase it from the Asset Store.
If you want to purchase, you can open the product page of the asset from the link below.
Create tutorial project
Create a project for the tutorial.
| Project Name | ArborTutorial01 |
| Template | 3D |
| Assets to import | Arbor |
For information on creating projects and importing Arbor, please refer to “Preparation for using Arbor”.
Preparing to use state machines
To use the state machine, we need to add an ArborFSM component to our GameObject.
Create GameObject with ArborFSM Component
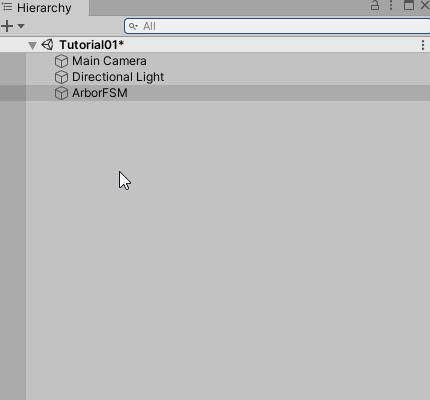
Here we create a GameObject with an ArborFSM component.
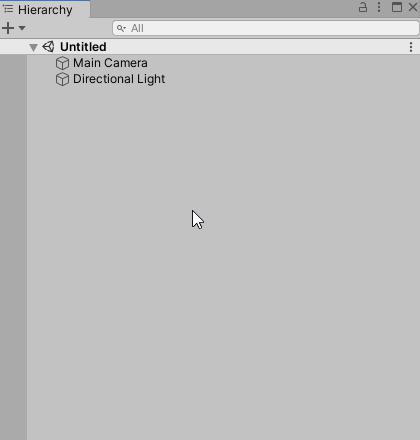
- Click the + button on the Hierarchy window.
- Select “Arbor> ArborFSM” from the menu.
Open ArborFSM component in ArborEditor
Edit the graph of the ArborFSM component in the Arbor Editor window.
- Select the ArborFSM object created from Hierarchy.
- Click the “Open Editor” button in the ArborFSM component of the Inspector window.
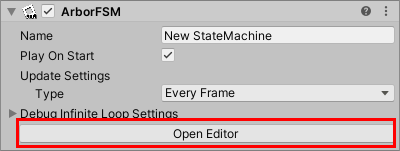
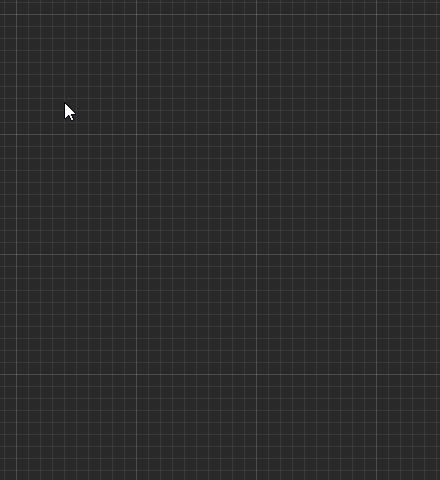
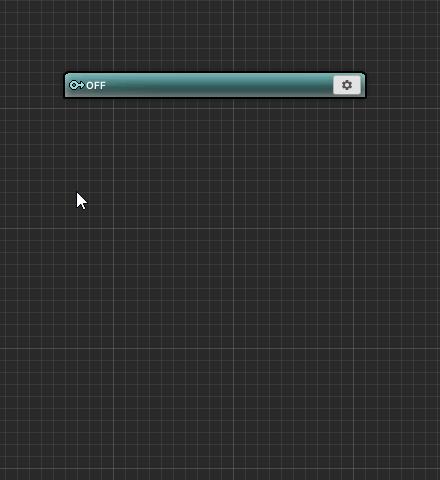
When clicked, the Arbor Editor window with ArborFSM selected is displayed.
![]()
Since you will often use the Arbor Editor window, it’s a good idea to dock it in an easy-to-use position.
Create States
Since we only handle two states ON / OFF this time, we will first create two states.
Create OFF state
Create an OFF state.
- Right-click on a blank area on the graph.
- Select “Create State” from the menu.
- Change the name to “OFF” and confirm with the Enter key.
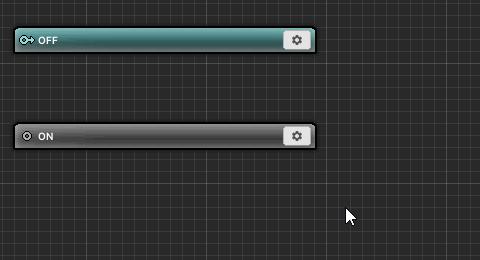
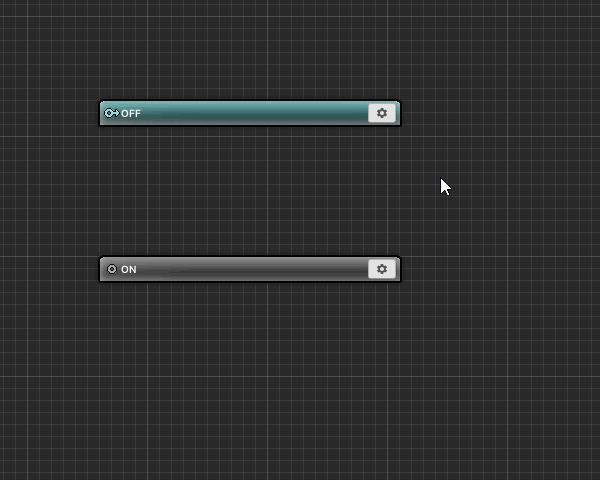
Create ON state
Continue to create an ON state.
- Right-click on a blank area on the graph.
- Select “Create State” from the menu.
- Change the name to “ON” and confirm with the Enter key.
About “ Start state”
When you create a state from nothing, the state you created the first time becomes the “![]() Start state”.
Start state”.
“![]() Start state” is the state that becomes effective at the beginning of execution.
Start state” is the state that becomes effective at the beginning of execution.
In this case, the OFF state is set to “![]() Start state”.
Start state”.
To change “Start state”
- Click the setting icon of “
 Normal state”
 - Select “Set Start State”.
In this time, the OFF state is “![]() Start state”, so there is no problem, so please change it back to the original state.
Start state”, so there is no problem, so please change it back to the original state.
OFF state setting
Let’s add a behavior (StateBehaviour) that transitions to the OFF state after a certain period of time.
Use TimeTransition to transition after a certain amount of time.
About StateBehaviour
A StateBehaviour is a C# script attached to a state that implements the processing of the behavior.
Multiple StateBehaviours can be added to a state, and when the state is executed, the associated StateBehaviours are processed in order from the top.
About TimeTransition
TimeTransition is a behavior that transitions to the state connected in “Next State” after the number of seconds specified in “Seconds” has passed.
See TimeTransition for details.
Add TimeTransition
- Click the OFF state setting icon.
- Select “Add Behaviour”.
- Select “Transition > Time Transition” from the displayed behavior selection window.
Setting TimeTransition
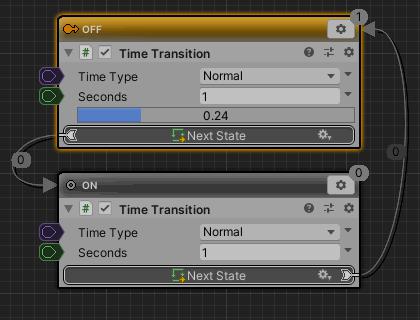
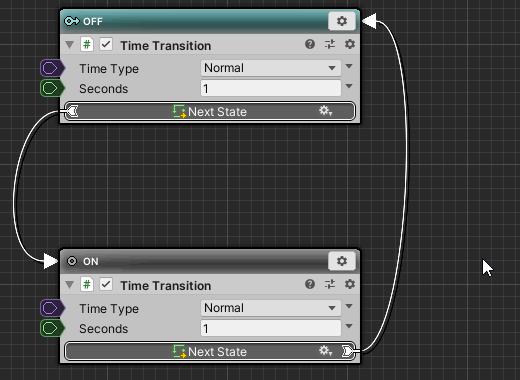
For this time we will set the transition time to 1 second.
- Set Seconds of TimeTransition to 1.
![]()
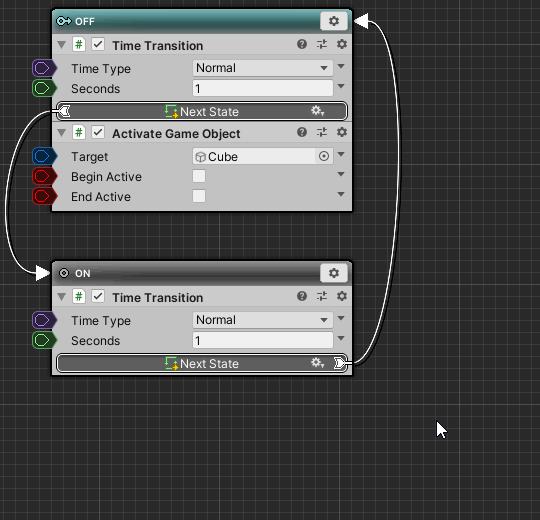
Then, specify “Next State” to transition to the ON state.
Transition is performed by dragging and dropping the StateLink field and connecting to the transition destination.
- Connect the “Next State” to the ON state by dragging and dropping
Now it will transition to the ON state after 1 second has elapsed.
| Time Type | Normal(No change) |
| Seconds | 1 |
| Next State | Connect to ON state |
Setting the ON state
In the ON state as well, we will set it to transition over time.
Copy and paste TimeTransition to ON state
Since there is a TimeTransition already set to the OFF state, copy and paste is performed.
- Click the TimeTransition setting icon in the OFF state.
- Select “Copy” from the menu.
Next, paste the Time Transition you copied to the ON state.
- Click on the setting icon in the ON state.
- Select “Paste Behaviour” from the menu.
Including each parameter of TimeTransition was copied and pasted.
Setting TimeTransition
I want to transition from the Time state TimeTransition to the OFF state, so reconnect the “Next State” to the OFF state.
- Connect the “Next State” to the OFF state by dragging and dropping
This made it possible to switch ON / OFF at 1 second intervals.
| Time Type | Normal(No change) |
| Seconds | 1 |
| Next State | Connect to OFF state |
Confirm the operation so far
Let’s try once and check the operation.
- Press “
 Play button” to execute.
If you look at the Arbor Editor window during execution, you can see that “![]() Current State” switches at 1 second intervals.
Current State” switches at 1 second intervals.
Stop the execution when you can confirm the operation.
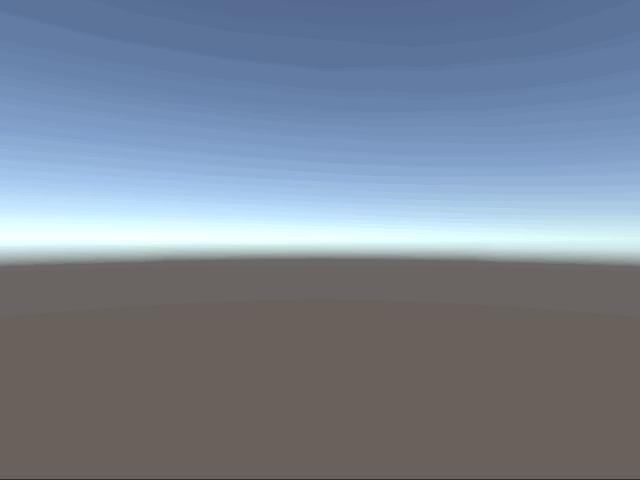
Visualize with Cube
However, since you can not see any change in Game View as it is, leave the Cube behind and let it look visually.
Here, we will create a Cube object in advance, and activate/deactivate the Cube with ActivateGameObject.
About ActivateGameObject
Behavior that switches the GameObject between active and inactive.
See ActivateGameObject for more information.
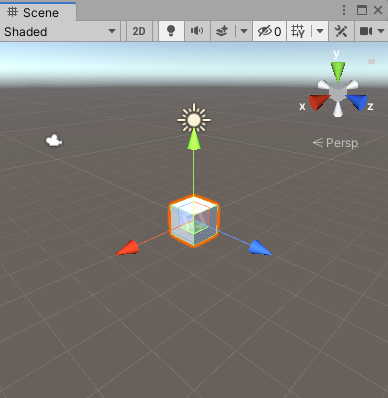
Create a Cube object
- Click the + button on the Hierarchy window.
- Select “3D Object> Cube” from the menu.
A Cube object was created in the scene.
Add ActivateGameObject to OFF state
- Click the OFF state setting icon.
- Select “Add Behaviour” from the menu.
- SSelect “GameObject > ActivateGameObject” from the behavior selection window.
ActivateGameObject Setting
When ActivateGameObject is added, make setting.
- Press the
 button of “Target” and select “Constant”.
 - Set “Target” to Cube object.
- “Begin Active” and “End Active” are not changed and are not checked.
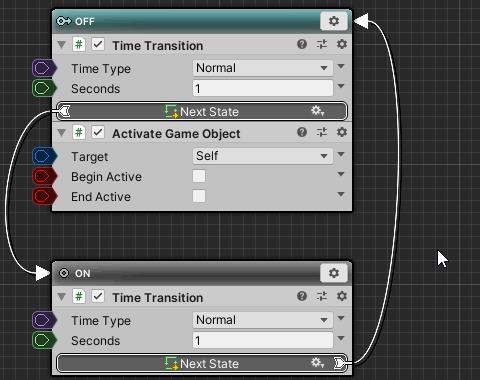
This makes the Cube object inactive in the OFF state.
| Target | Cube object |
| Begin Active | No check (no change) |
| End Active | No check (no change) |
Copy and paste ActivateGameObject to ON state
- Click on the ActivateGameObject setting icon in the OFF state.
- Select “Copy” from the menu.
- Click the ON state setting icon.
- Select “Paste Behaviour” from the menu.
Copy and paste was done with the Cube object set to “Target”.
ActivateGameObject Setting
- Check “Begin Active” and “End Active”.

This will activate the Cube object when entering the ON state.
| Target | Cube object |
| Begin Active | Check |
| End Active | Check |
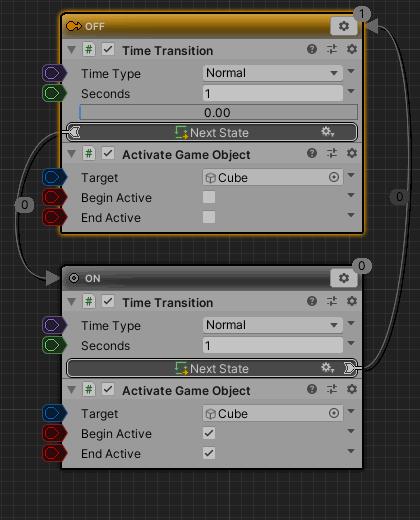
Operation check
Let’s check at the end whether the Cube object will be switched or not.
- Press “Play button” to execute.
Now you can see that the Cube object’s activity switches at 1 second intervals.
If you also check the Arbor Editor window, you can see that the Cube object is switched normally in conjunction with the state change.
End
This completes the Arbor Tutorial “State machine basics”.
Tweet completion of the Arbor tutorial “State machine basics”
Next Step
If you create your own StateBehaviour script, you will be able to create more flexible behaviors.
Let’s check how to code StateBehaviour in the tutorial “Coding“.