
This time, I will explain how to write the ActionBehaviour script used in the behavior tree.
Contents
- 1 Prior knowledge
- 2 Preparing the tutorial project
- 3 Preparing to use behaviour trees
- 4 Create an ActionBehaviour script
- 5 Coding at the start of the action
- 6 Use ExpAction script
- 7 Coding the end of execution
- 8 Branching on Action Result
- 9 About fields
- 10 End
Prior knowledge
This tutorial requires knowledge of:
- Basics of C#
- Unity Manual “Scripting“
- Behaviour tree basics
Preparing the tutorial project
Let’s prepare a project to practice this tutorial.
Operating environment
This tutorial is created in the following environment.
| Unity | 2019.4.40f1 |
| Arbor | 3.9.0 |
Preparing the Arbor3
If you haven’t already, you’ll need to purchase it from the Asset Store.
If you want to purchase, you can open the product page of the asset from the link below.
Create tutorial project
Create a project for the tutorial.
| Project Name | Arbor_BT_ActionBehaviour |
| Template | 3D |
| Assets to import | Arbor 3: FSM & BT Graph Editor |
For information on creating projects and importing Arbor, please refer to “Preparation for using Arbor”.
Preparing to use behaviour trees
To use a behaviour tree, you need to add a BehaviourTree component to your GameObject.
Create a GameObject with a BehaviourTree component
Here we create a GameObject with a BehaviourTree component.
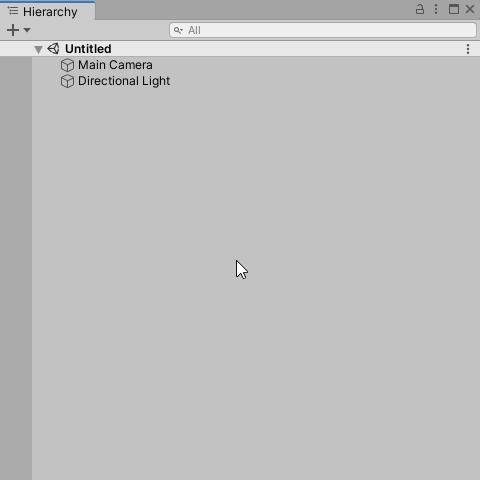
- Click the + button in Hierarchy.
- Select “Arbor > BehaviourTree” from the menu.
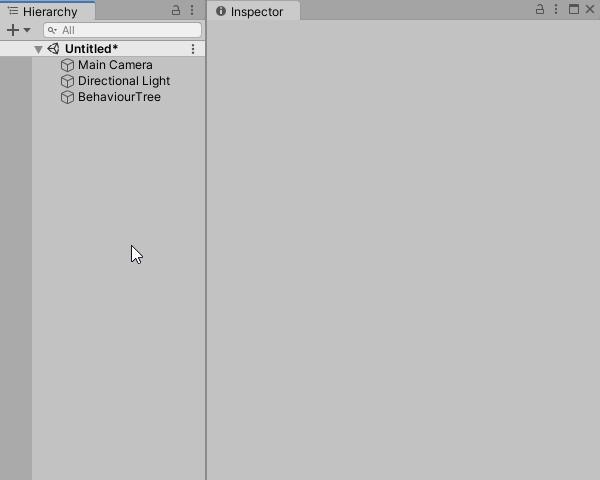
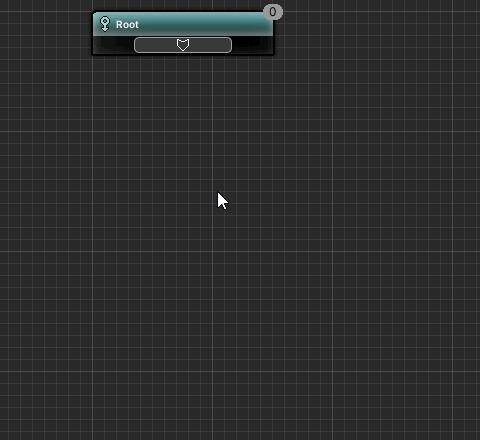
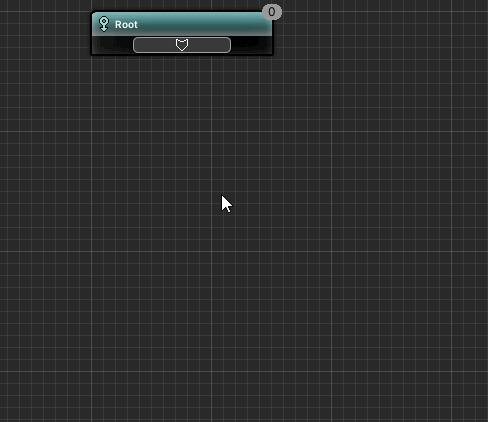
Open the BehaviourTree component in ArborEditor
Edit the graph of the BehaviourTree component in the Arbor Editor window.
- Select the BehaviourTree object created from Hierarchy.
- Click the “Open Editor” button in the BehaviourTree component of the Inspector window.
Create an ActionBehaviour script
This time, let’s create an “ExpAction” script as a prototype for the tutorial.
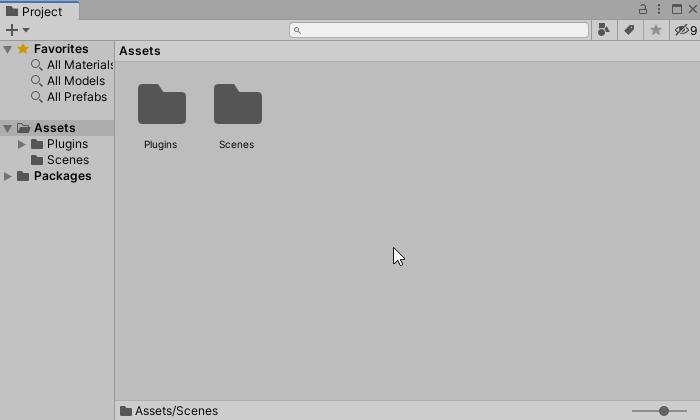
Creating ExpAction scripts
- Select the Assets folder in the Project window.
- Click the + button in the Project window.
- Select “Arbor > BehaviorTree > ActionBehaviour C# Script” from the menu.
- Change the script name to “ExpAction” and confirm with the Enter key.
About the created ExpAction script
Double-click the created ExpAction script to open it in a code editor (such as Visual Studio).
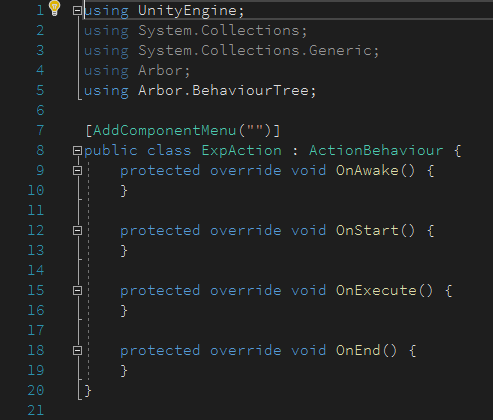
Newly created ActionBehaviour scripts like this have predefined callback methods that are commonly used.
| OnAwake | Called once the first time the action node becomes active. |
| OnStart | Called when an action node becomes active. |
| OnExecute | Called when an action node is executed. |
| OnEnd | Called when the action node ends. |
Coding at the start of the action
This time, to confirm the operation, let’s output a log when the node becomes active.
Open the ExpAction script in the code editor and change the OnStart method as follows.
Now, when the action node to which the ExpAction script is linked becomes active, the log “Node name: OnStart” will be displayed.
Use ExpAction script
Let’s create an action node using the script we created
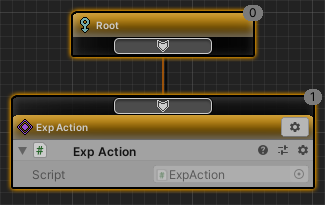
Create an ExpAction action
- Drag the slot at the bottom of the Root node (called a child slot).
- Drop below the root node.
- Select “Create Action” from the menu.
- Select “Scripts > ExpAction” from the action selection window.
- Confirm the name with the Enter key.
Play confirmation
Let’s play and check.
When the Exp Action node runs, it will log to the console as follows.

Since the ExpAction script doesn’t do anything other than log output, after logging once it doesn’t do anything and doesn’t return any results, so the Exp Action node keeps running.
Coding the end of execution
ActionBehaviour has a function to end the execution of the node and return the result to the parent node when some processing is finished.
About FinishExecute
Use the FinishExecute method to return the results.
When called, the action node terminates execution and returns success/failure to the parent node according to the value of the argument.
If FinishExecute is not called, execution will not end and the same node will continue to be executed after the next frame.
Coding OnExecute
This time, to confirm the operation, let’s return “success” to the parent node when the space key is pressed, and return “failure” when the enter key is pressed.
Open the ExpAction script in the code editor and change the OnExecute method as follows.
Branching on Action Result
Let’s build the behavior tree so that it branches depending on the execution result of the action.
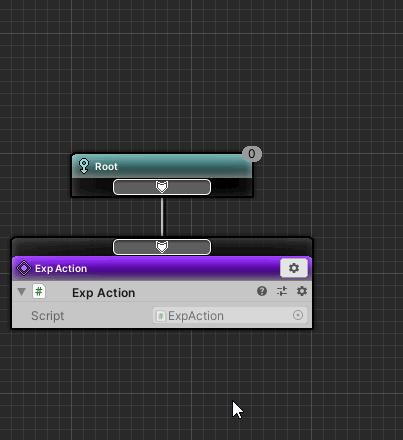
Disconnect and Move to Exp Action
In order to build a composite node, let’s disconnect the Exp Action and move it out of the way.
- Right-click on the connecting line between the child slot of the Root node and the slot at the top of the Exp Action node (called the parent slot).
- Select “Disconnect” from the menu.
- Drag the header of the Exp Action node and move it above the Root node.
Branch on failure
Use a Selector composite to execute the Wait action for branching if the ExpAction fails.
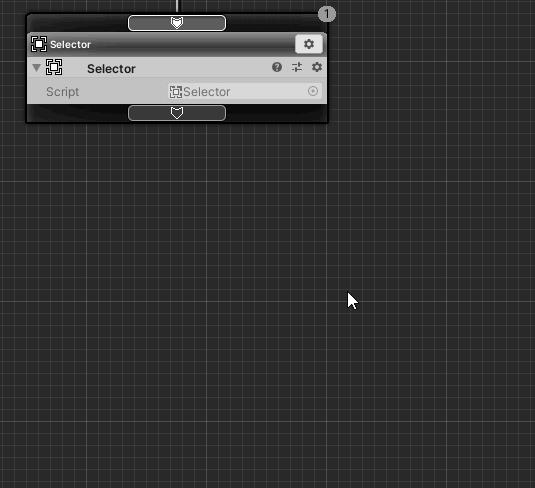
Creating a Selector Composite
- Drag a child slot of the Root node.
- Drop below the root node.
- Select “Create Composite” from the menu.
- Select “Selector” from the composite selection window.
- Leave the name as is and press Enter.
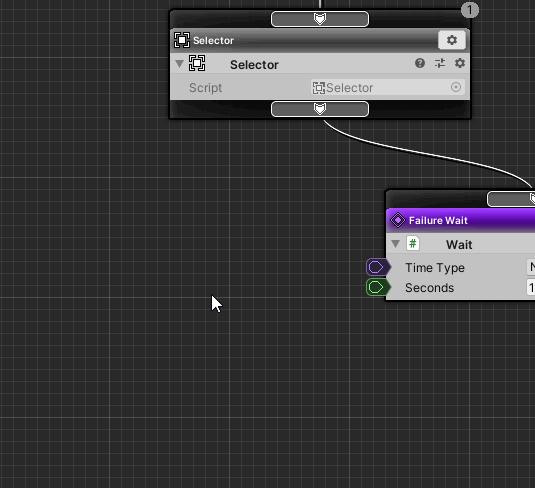
Creating a Wait action on failure
- Drag the child slot of the Selector node.
- Drop at the bottom right of the Selector node.
- Select “Create Action” from the menu.
- Select “Wait” from the action selection window.
- Change the name to “Failure Wait” and confirm with the Enter key.
Setting the Wait action on failure
Set the Wait action of the Failure Wait node as follows.
| Seconds | 1 |

Branch on success
If the ExpAction succeeds, use a Sequencer composite to execute the Wait action.
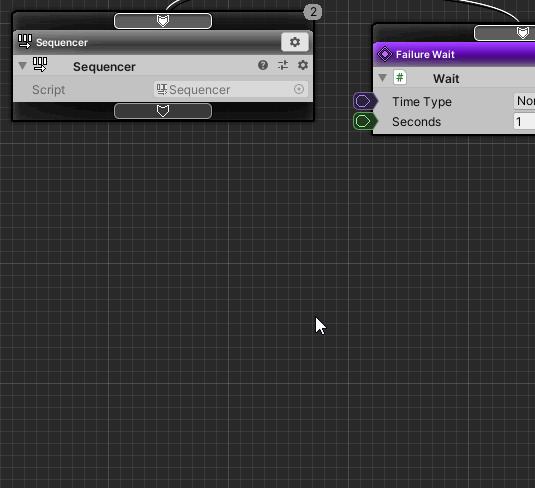
Creating a Sequencer Composite
- Drag the child slot of the Selector node.
- Drop at the bottom left of the Selector node.
- Select “Create Composite” from the menu.
- Select “Sequencer” from the composite selection window.
- Leave the name as is and press Enter.
Create Wait action on success
- Drag the child slot of the Sequencer node.
- Drop at the bottom right of the Sequencer node.
- Select “Create Action” from the menu.
- Select “Wait” from the action selection window.
- Change the name to “Success Wait” and confirm with the Enter key.
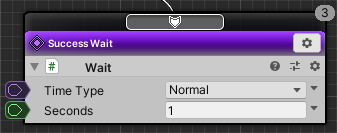
Setting the Wait action on success
Set the Wait action of the Success Wait node as follows.
| Seconds | 1 |
Moving and connecting ExpAction nodes
- Drag the header of the ExpAcion node and move it to the bottom left of the Sequencer node.
- Drag and drop the Sequencer node’s child slot into the ExpAction node’s parent slot.

Let’s play
Let’s play and check.
Press the Space key to run the Success Wait node.
Press the Enter key to run the Failure Wait node.
If you don’t press any keys, the Exp Action node will continue to run.
About fields
Although I didn’t use it this time, it is possible to set properties by fields like MonoBehaviour scripts and other Arbor related scripts.
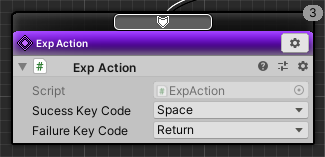
For example, if you make it possible to set the accepted key in the field, it will be as follows.
Then you can set Success Key Code and Failure Key Code in ExpAction action.
See “ActionBehaviour#Declaring fields” for more information.
End
This concludes the Arbor tutorial “How to write an ActionBehaviour script”.
Tweet