
This is the documentation for Arbor 3.2.4 and earlier.
See Arbor Documentation for the latest documentation.
Contents
- 1 Adding ArborFSM component
- 2 Open ArborFSM graph in Arbor Editor window
- 3 Create State
- 4 Create Resident State
- 5 Delete State
- 6 Set to start state
- 7 Add Behaviour
- 8 Insert Behaviour
- 9 Drag Behaviour
- 10 Delete Behaviour
- 11 Connect State
- 12 Connect Reroute Node
- 13 Change direction of reroute node
- 14 Disconnect State
- 15 StateLink settings
- 16 About each menu
Adding ArborFSM component
The ArborFSM component is required to use the state machine.
There are the following methods for adding ArborFSM components.
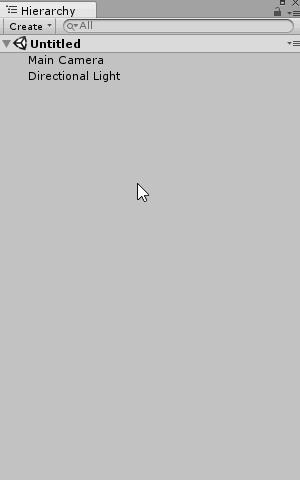
- Click the Create button in the Hierarchy window or right click in the window
- Select “Arbor / ArborFSM”
- A GameObject with ArborFSM is created.
ArborEditor window toolbar
- Open the ArborEditor window and click the “Create” button on the toolbar
- Select ArborFSM
- A GameObject with ArborFSM is created.
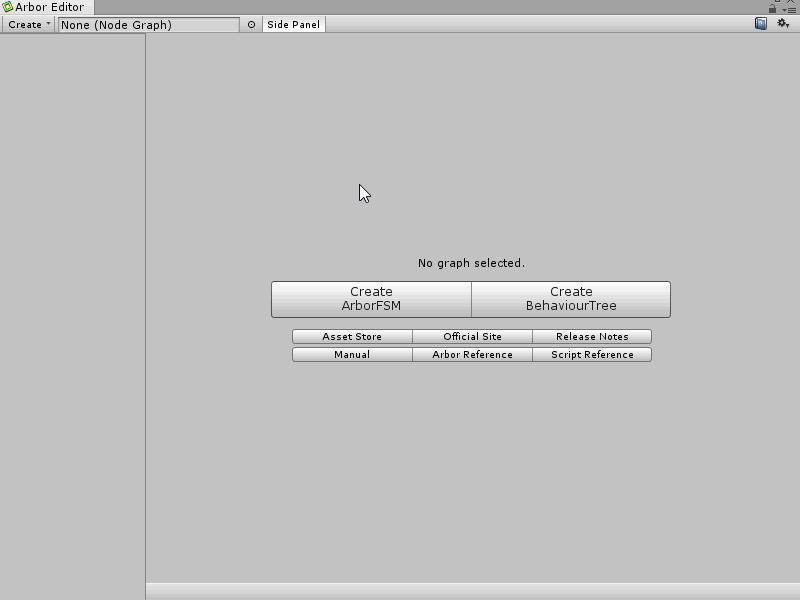
- Open the ArborEditor window and click the “Create ArborFSM” button in the menu displayed when graph is not selected
- A GameObject with ArborFSM is created.

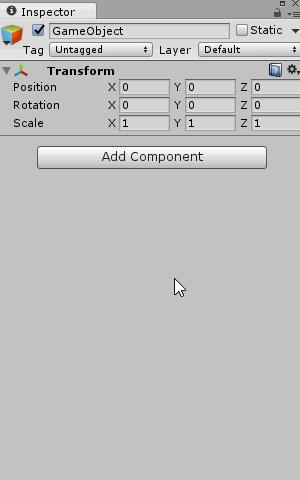
- Select the GameObject you want to add ArborFSM in the Hierarchy window
- Click the “Add Component” button in the Inspector window
- Select “Arbor / ArborFSM”.
- ArborFSM is added to GameObject.
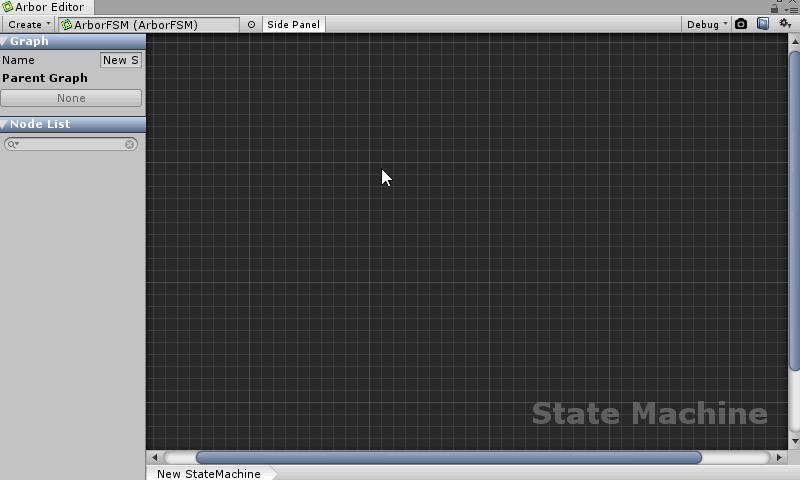
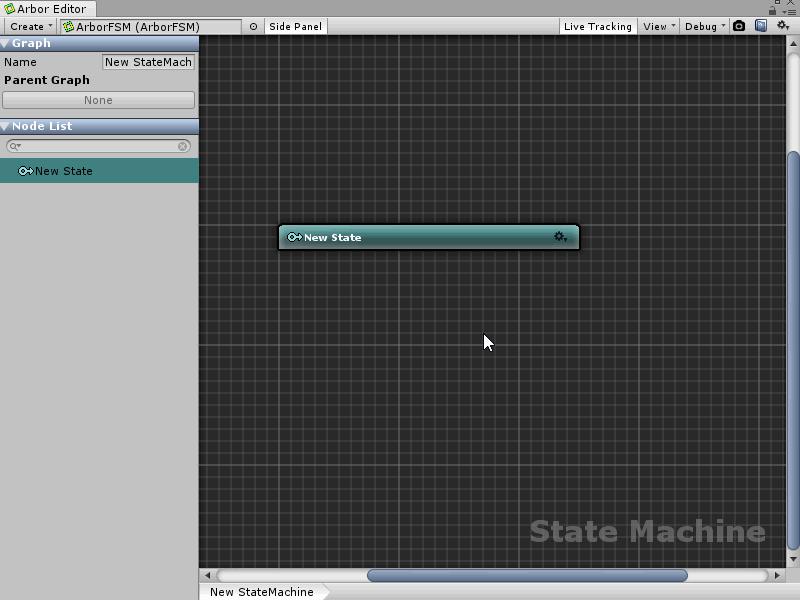
Open ArborFSM graph in Arbor Editor window
To edit ArborFSM you need to open the ArborFSM graph in the Arbor Editor window.
- In the Hierarchy window, select GameObject with ArborFSM component.
- Click “Open Editor” button of ArborFSM component editor in Inspector window.

Also, if the Arbor Editor window has already been opened, it will switch if you select GameObjet with ArborFSM component in the Hierarchy window.
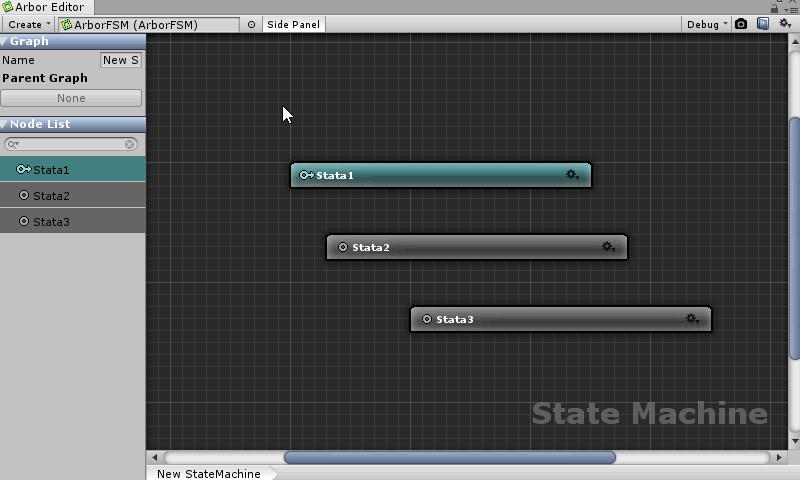
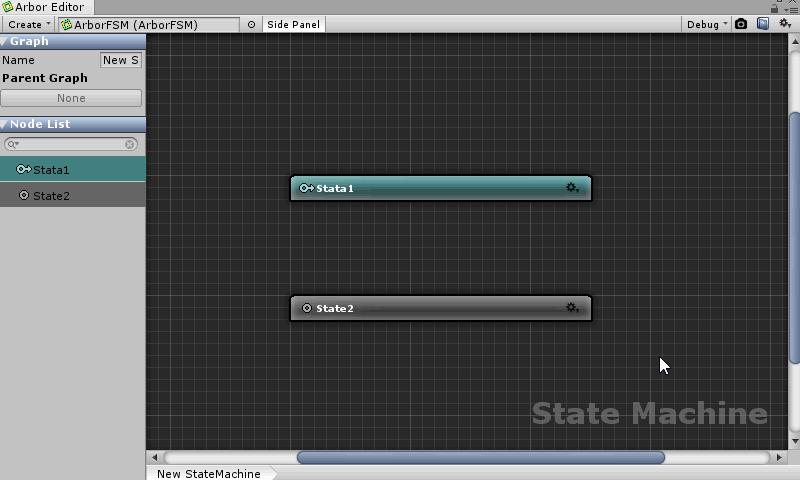
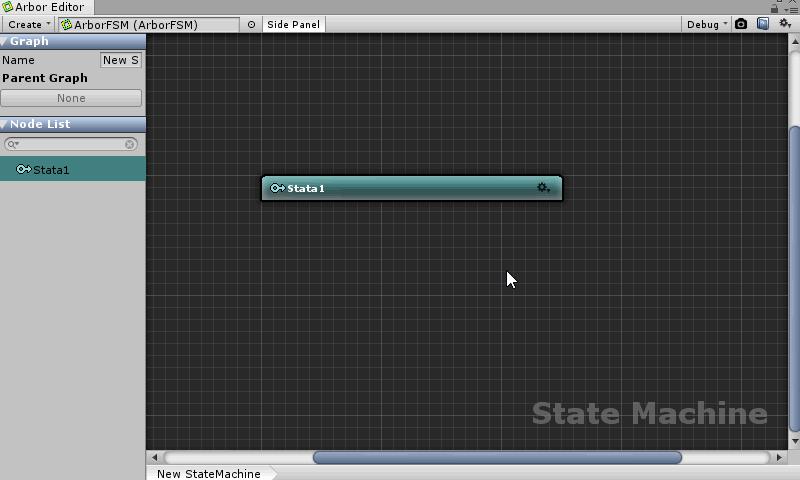
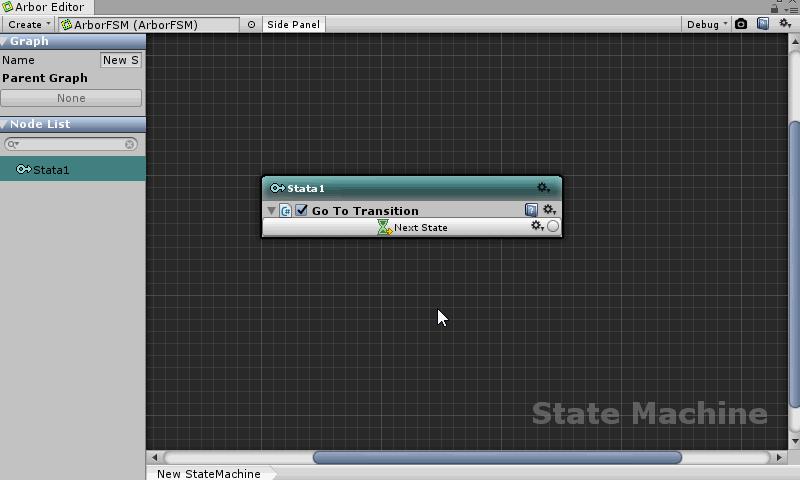
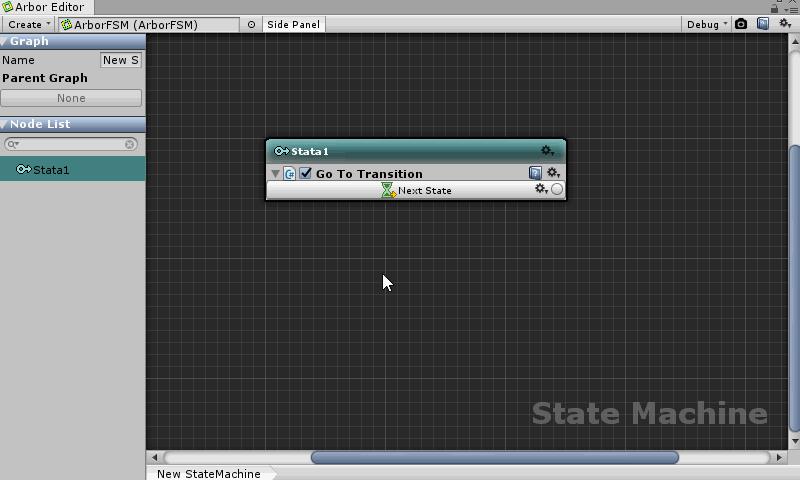
Create State
- Right-click the position of the graph where you want to create a state.
- Select “Create State” in the menu.
- Input the name of the state and decide with the Enter key.
Create Resident State
- Right-click the position of the graph where you want to create a resident state.
- Select “Create Resident State” in the menu.
- Input the name of the state and decide with the Enter key.

Delete State
- Select the node you want to delete
- Select “Delete” from the right-click menu in the graph, or press the Delete key
Set to start state
- Click the gear icon or right click in the node header section.
- Select “Set Start State”.
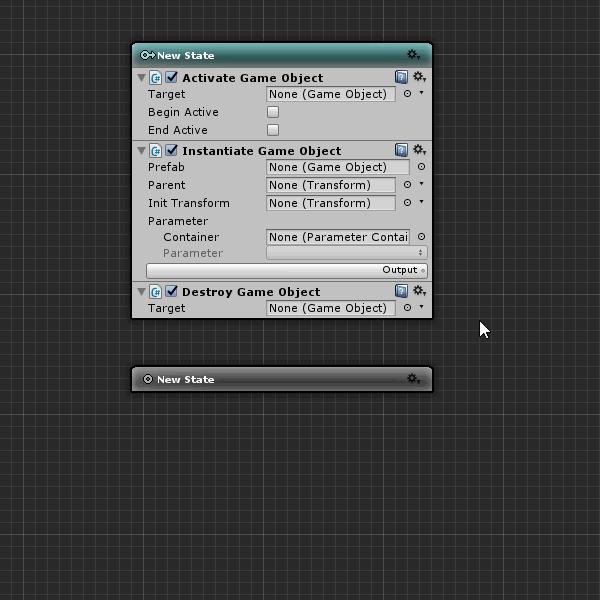
Add Behaviour
You need to add a StateBehaviour in order for the state to work.
- Click the gear icon or right click in the node header section.
- Select “Add Behaviour”
- Select the StateBehaviour you want to add from the StateBehaviour selection menu.
Insert Behaviour
To insert StateBehaviour in an arbitrary position, add it from the “Insert Behaviour” button.
- Mouse over near the center of the separator between behaviors in the state.
- Click the displayed “Insert Behaviour” button.
- Select “Add Behaviour”
- Select the StateBehaviour you want to add from the StateBehaviour selection menu.
Drag Behaviour
Move
By dragging and dropping StateBehaviour, you can switch the order of behavior and move to another node.
- Drag the title bar of behaviour
- Drop to the other node on the same node or to another node
Copy
Hold Ctrl (Win) / Option (Mac) while dragging and dropping it to copy.
- Drag the title bar of behaviour
- Hold Ctrl (Win) / Option (Mac) and drop it to another position on the same node or to another node

Delete Behaviour
- Click the gear icon or right click in the title bar.
- Select “Delete” from the menu
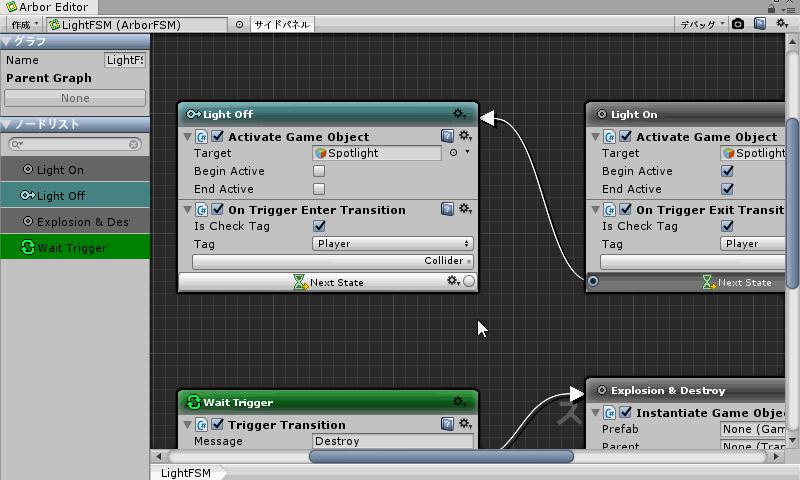
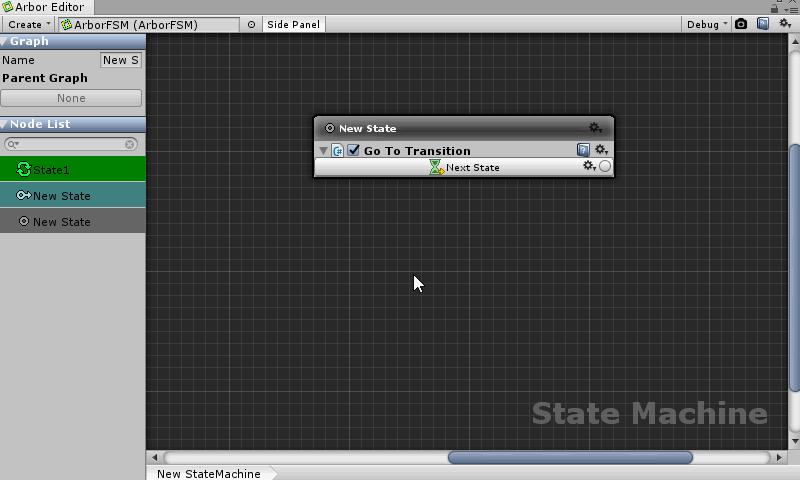
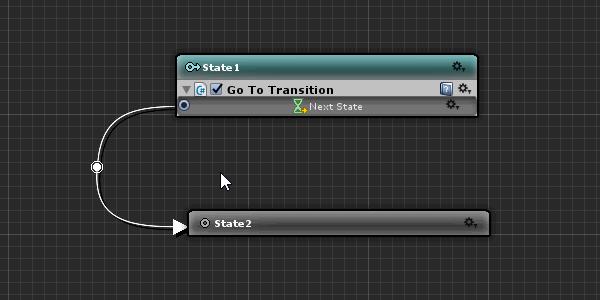
Connect State
Connect to existing node
- Drag the StateLink field in StateBehaviour
- Drop to the connected state
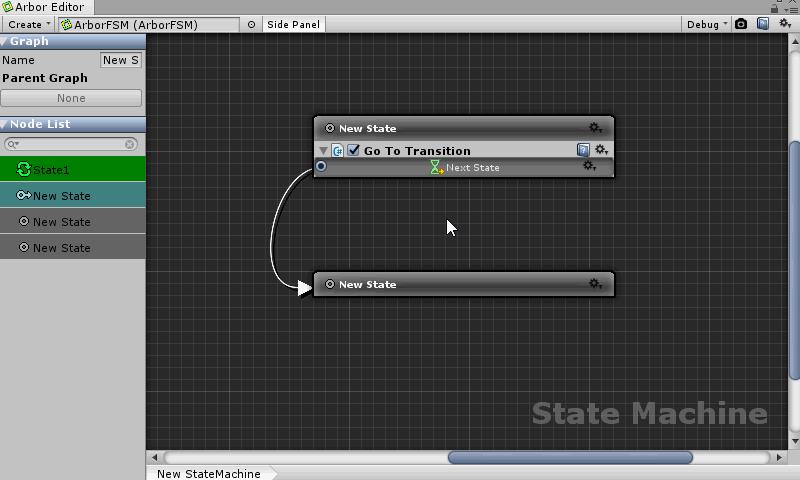
Connect And Create a new state
- Drag the StateLink field in StateBehaviour
- Drop at the position in the graph where you want to create the state
- Select “Create State” in the menu.
- Input the name of the state and decide with the Enter key.
Connect Reroute Node
Connect And Create a new Reroute node
- Drag the StateLink field in StateBehaviour
- Drop at the position in the graph where you want to create the state
- Select “Reroute” in the menu.
Insert Reroute node
- Right-click the position where you want to create a reroute node on the connection line.
- Select “Reroute” in the menu.
Change direction of reroute node
- Select reroute node to change direction
- Drag the direction icon to change it.
Disconnect State
- Right-click on the connection line you want to disconnect
- Select “Disconnect” from the menu
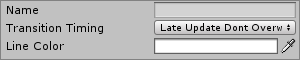
StateLink settings
Click on the StateLink gear icon to display the setting window.
| Item | Contens |
|---|---|
| Name | Name of StateLink. When inputting, the display name of the StateLink field is changed. |
| Transition Timing | Setting of transition timing. |
| Line Color | Connection line color |
TransitionTiming
| Item | Contens |
|---|---|
| Reserve to transition when LateUpdate. If the transition is already reserved in the same frame, overwrite it. |
|
| Transit instantaneously at transition call. If the transition is looping, there is a possibility of infinite looping, so use with caution. |
|
| Reserve to transition when LateUpdate. (Default) If the transition is already reserved within the same frame, do not overwrite it. |
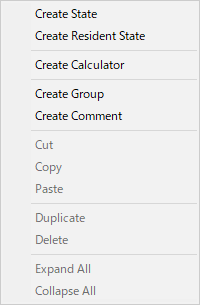
Right-click the graph to display the menu.
| Item | Contens |
|---|---|
| Create State | Create a normal state. |
| Create Resident State | Create a resident state. |
| Create Calculator | Create a Calculator node. |
| Create Group | Create a group. |
| Create Comment | Create a comment. |
| Cut | Cut the selected nodes. |
| Copy | Copy the selected nodes. |
| Paste | Paste the copied nodes. |
| Duplicate | Duplicate the selected nodes. |
| Delete | Delete the selected nodes. |
| Expand All | Expand all the selected node’s behaviour. |
| Collapse All | Collapse all the selected node’s behaviour. |
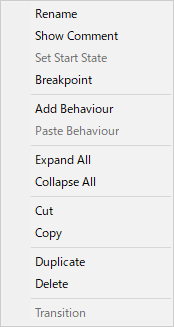
Right-click the header part of the state or click the gear icon to display the menu.
| Item | Contens |
|---|---|
| Rename | Change the name of the state. |
| Show Comment | Switch the display of the node comment field.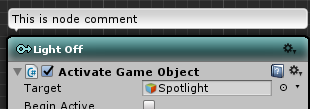 |
| Set Start State | Set it to the start state. |
| Breakpoint | Toggle breakpoint setting.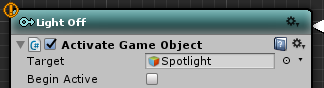 |
| Add Behaviour | Add StateBehaviour. |
| Paste Behaviour | Paste the copied StateBehaviour. |
| Expand all | Expand all the behaviors added to the node. |
| Collapse all | Collapse all the behaviors added to the node. |
| Cut | Cut the node. |
| Copy | Copy the node. |
| Duplicate | Duplicate the node. |
| Delete | Delete the node. |
| Transition (Valid only during play) | If you select while playing, it forcibly transits. |
Right-click the title bar of StateBehaviour or click the gear icon to display the menu.
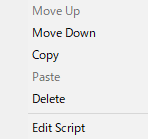
| Move Up | Move the order up. |
| Move Down | Move the order down. |
| Copy | Copy the StateBehaviour. |
| Paste | Overwrite the copied StateBehaviour (valid only for the same type) |
| Delete | Delete the StateBehaviour. |
| Edit Script | Open the script editor. |
Right-click on the connection line to display the menu.
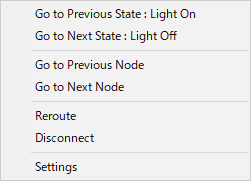
| Go to Previous State | Scroll to the state of the transition source. |
| Go to Next State | Scroll to the state of the transition destination. |
| Go to Previous Node | Scroll to the previous node (displayed only if there is a reroute node) |
| Go to Next Node | Scroll to the next node (displayed only if there is a reroute node) |
| Reroute | Create a reroute node at the clicked position. |
| Disconnect | Disconnect it. |
| Settings | Opens the StateLink settings window. |
Click on the “Debug” button on the toolbar to display it.

| Show all data values | Change to show the current value of all of the data line. |
| Hide all data values | Change to hide the current value of all of the data line. |
| Set Breakpoints | Sets the breakpoint of the selected states. |
| Release Breakpoints | Releases the breakpoint in the selected states. |
| Release all Breakpoints | Release breakpoints of all states. |
| Clear Count (Valid only during play) | Change the state transition count to 0. |